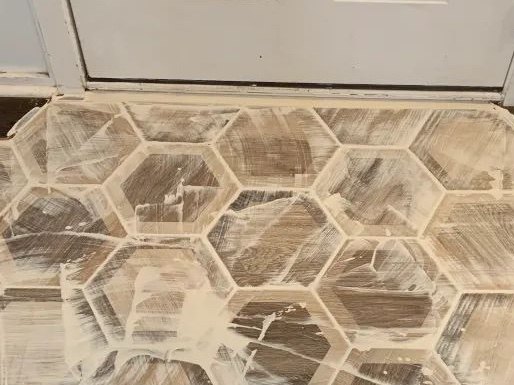
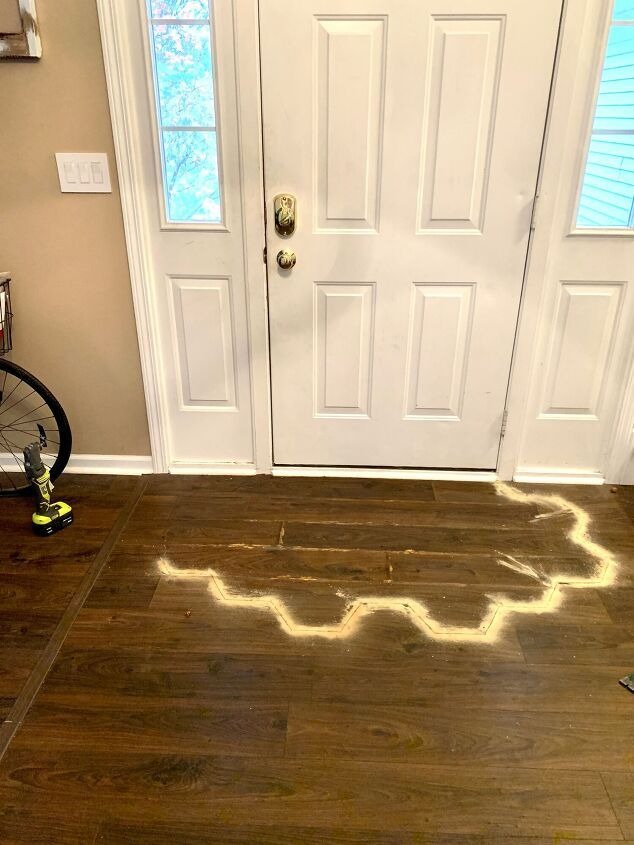
For now, mostly ignore the exterior gaps between the tiles and the other flooring. These edges should be caulked, not grouted, because caulk will flex better with any shift in the flooring. However, there were some spots where the edging was a bigger gap than I’d anticipated, and these I helped fill with a bit of grout. I also did grout the larger space between the tile and under our door. I’ll probably still put quarter-round along this door at some point, but I wanted the added protection of grout there too.

All this grouting DOES make a mess. I think that’s unavoidable. But after you get all the grout lines done and let it sit for a bit (read the instructions of your grout for how long!), you can start wiping it off the tiles with a wet sponge from a bucket of water. This is partly satisfying and partly a good way to feel like Cinderella.
Once happy with my grout job between the tiles, I rested for a bit and let the grout set up. But one thing about grout is that there will always be a grout film even after you wash it off repeatedly. So, I kept my sponge damp and kept wiping the drying grout off my tiles.
And here’s where I have a useful tip! When there’s just a faint film of grout on the tiles, I take a baby wipe and scrub away the film. I can’t explain the science of whatever chemicals are involved, but I swear these baby wipes work better than anything else I’ve tried to remove grout film!
Step 6: Caulk the edges. This last step really adds the finishing touch. If any of your cuts were a little wonky, covering with smooth caulk lines hides these goofs. I had a white caulk that was the same color as my grout, so that blends it all together to look the same too.
With my caulk gun, I squeezed out a (semi) even line of caulk to fill the space running between my tiles and the existing floor. Then I used another baby wipe (versatile little things, huh?!) to smooth the caulk all around and along my outline. In a few places it got onto my tile and/or my old flooring, so I just wiped it off and kept going. This took a bit of time, but once I was done it looked so nice.

That’s it! Now instead of a ruined floor under a mat, we have a cool floor that can hold up on its own. We’ve already taken off many snow-covered shoes here, and it’s a perfect way not to worry about getting a rug dirty or sopping wet…from shoes or otherwise, but let’s focus on the shoes. 😉

